


Thanksgiving decor often focuses on leaves and pumpkins, but there’s no rule against using florals in your fall style. Many flowers actually have soft, warm hues that can be perfect for fall and add some earthy glamour to your home. Rachel Patten, florist and owner of Florence Posies, teaches us how to make a DIY Thanksgiving floral arrangement. You can make your own arrangement following these steps.
Florence Posies will have the bundle of florals which you can purchase for $60 at the shop in the SoDA District the week before Thanksgiving. So grab your bundle and follow the instructions to
make your own!
SUPPLIES:
Bundle of flowers
Florence Posies – $60
Floral Tape
Hobby Lobby – $3.19
Vase
Florence Posies or buy your own – Cost Varies
Scissors or Floral Shears
1. Gather supplies and arrange them on a work table or flat surface. 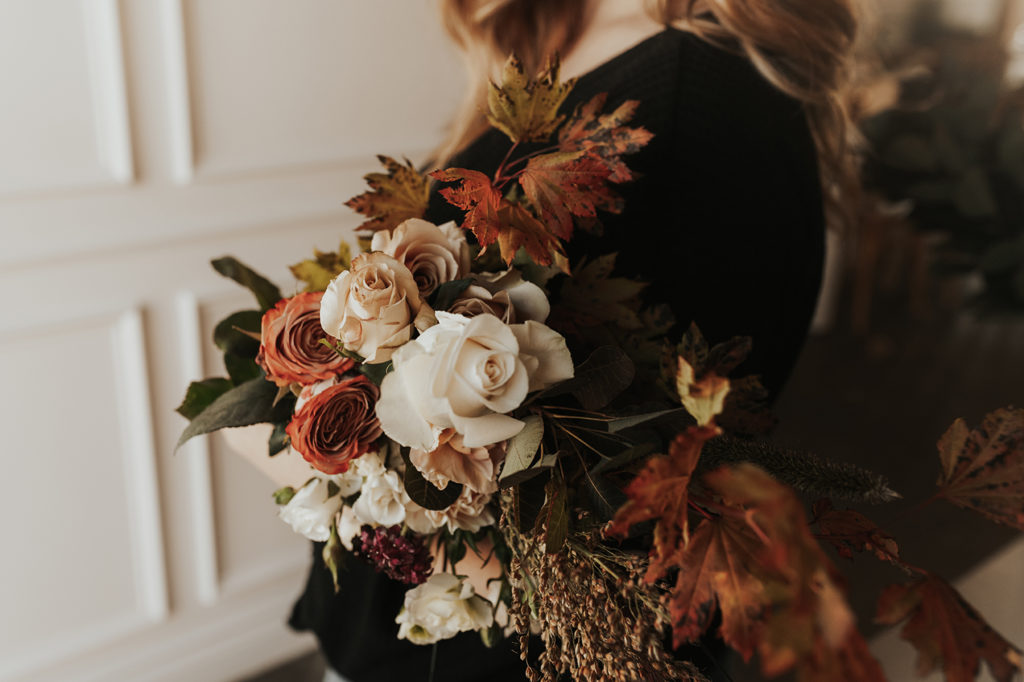


2. Fill your vessel or vase with water.
3. Place floral tape in strips along the top of the vase. Form a grid pattern with nine squares. This will serve as the foundation for your arrangement. 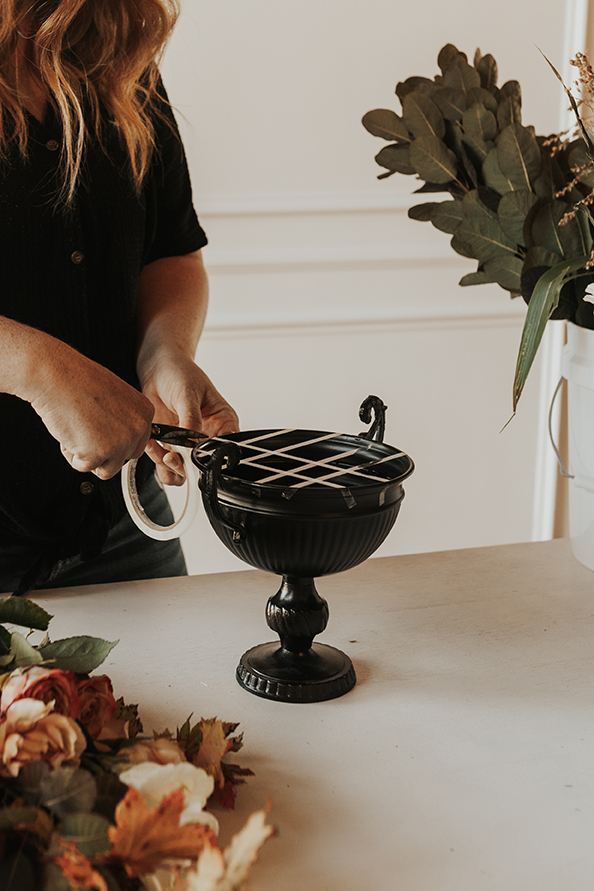

4. Open your bundle of flowers and separate the stems into groups. You should have one group for greens, one for big flowers, and one for smaller, filler flowers.
5. Begin inserting your green stems in the different squares on your grid. Cut each one to the correct height by holding up the stems in front of your vase to see how tall each one should be. Then begin adding each stem in the grid, going every third square to create “triangles” with the greens.
PRO TIP: Your final arrangement should have an asymmetrical shape so one side should have more height. Insert shorter stems on one side and longer stems on the other to form this shape.
6. Once the greens are all in, begin adding the larger flowers in the same pattern of thirds. The cappuccino rose is perfect for fall bouquets because of its soft tone. First, take each flower by the stem and flip it upside down. Roll the stem between your hands to open up the bloom. You can also bend the outer petals back starting at the outside. This technique is called “reflexing.” This will make the flowers look bigger and more open. ![]()

PRO TIP: If your arrangement will be seen from all sides, make sure you pick up your design and look at it from all sides as you go. One side may end up being the “front” and one may be the “back” so be sure to put larger flowers near the back and smaller flowers near the front.
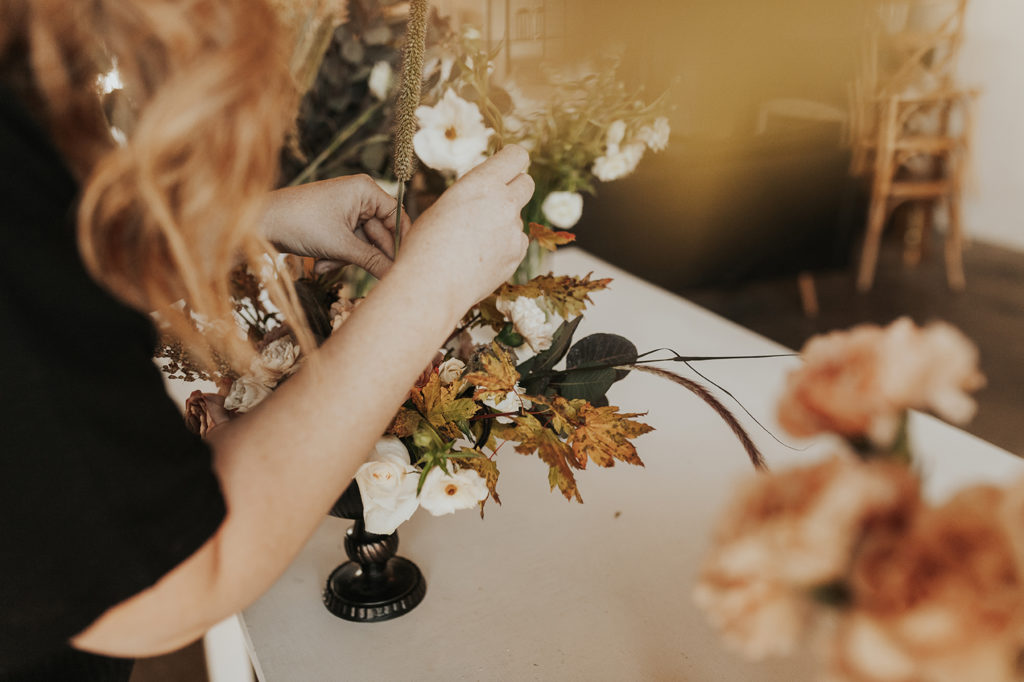
7. Now that the larger flowers are in, you can begin adding the filler pieces. Again, these can go in a pattern of thirds, filling in any holes in the design. Some of these can be taller and add more height, following your asymmetrical shape so one side is taller than the other.
PRO TIP: Save a few greens from Step 5 to use as filler if there are any additional holes in the arrangement.
8. Your arrangement is complete! Look over your design and check for any gaps or spots that need to be thinned out to your taste. This is your design, so make it look the way you want it.
PRO TIP: To preserve your florals for a few days, keep them out of direct sunlight and change out the water daily. 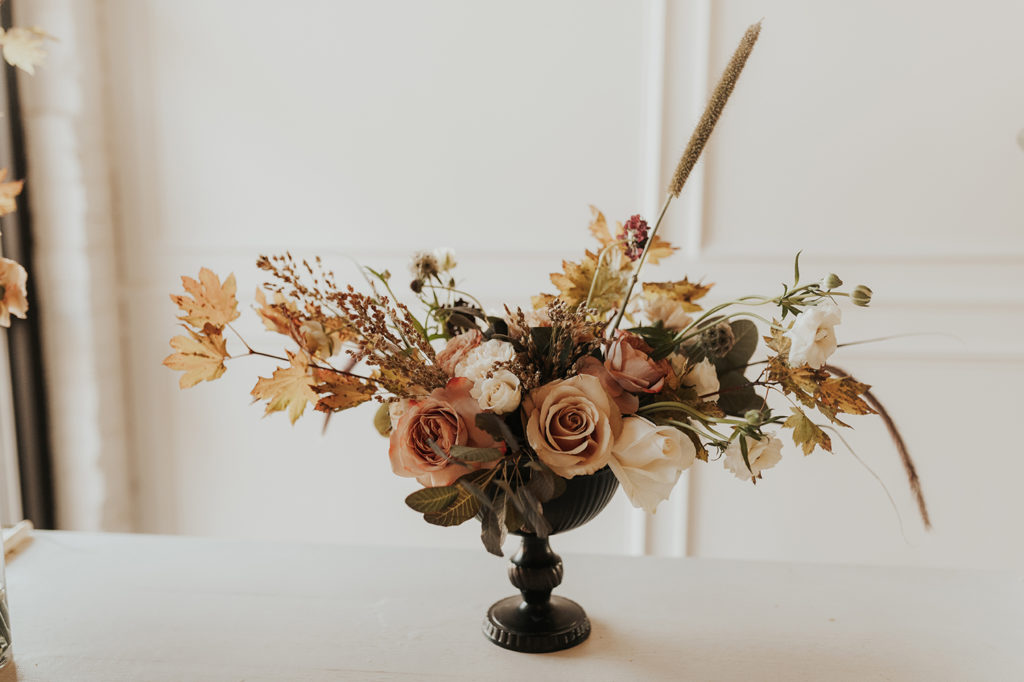
Now that your arrangement is complete, you can place it in your kitchen or living room to get in the Thanksgiving spirit! Then when guests come for dinner, this design will make a perfect centerpiece on the table. This could be the highlight of your table (second only to the turkey of course).
By Haley Laurence
Photography By Brenna Grace Co.


