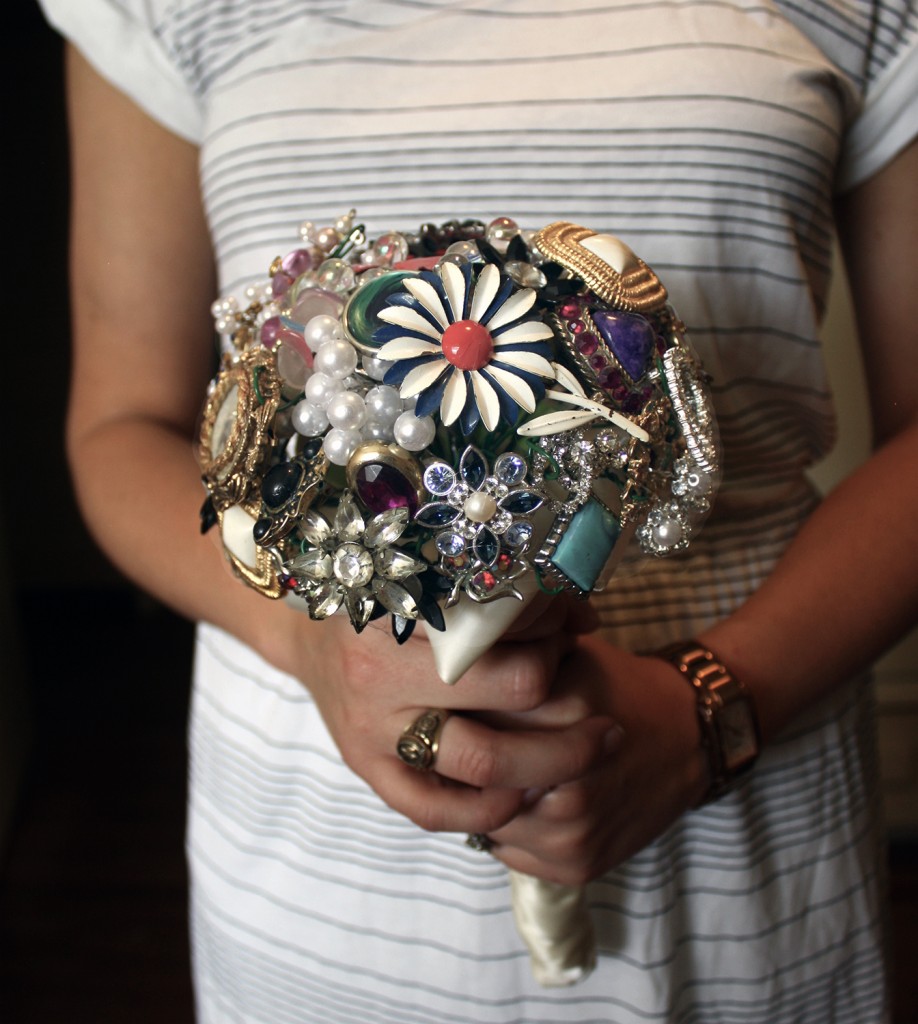
Brooch bouquets are expensive to buy, but why buy one pre-made when you can do it yourself? Depending on the size of your brooch or oversized earring collection, making your own brooch bouquet can cost next to nothing. For sentimental brides it’s great way to include family heirlooms in your ceremony. And even if you aren’t getting married, a brooch bouquet may be the perfect way to immortalize a loved one’s jewelry collection. Abilene Scene’s Bailey LeRoux tested this system on the brooch bouquet for the Boutique Bridal Event’s style show. We have to say our model was pleased with the results.
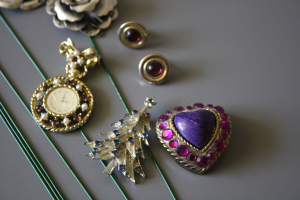
Step #1: Gather your brooches.
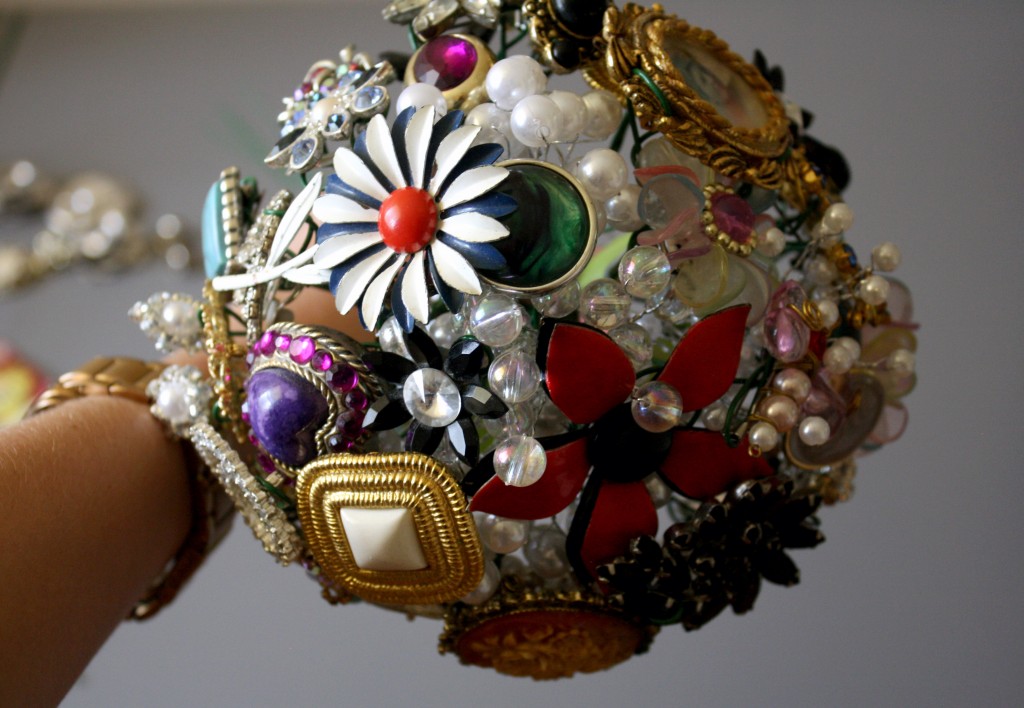
Vintage brooches can be expensive and hard to find if you don’t know where to look. If you know your collection of vintage jewelry is small but you can’t get a bouquet like the one pictured out of your head, start visiting garage and estate sales early in the game. And don’t be too picky about the jewelry you buy. A larger collection makes for a fuller bouquet. Pick a few large favorites to arrange on the top to draw the eye away from your filler. Don’t limit yourself to brooches either! Bailey took advantage of her grandmother’s love for oversized clip-on earrings and no one could tell the difference.
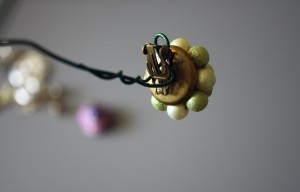
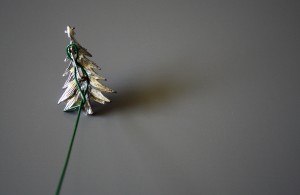
Step #2: Wire your pieces.
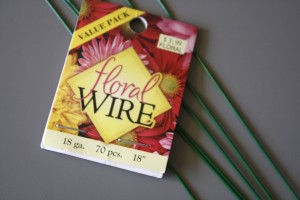
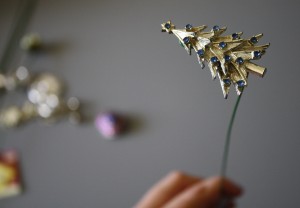
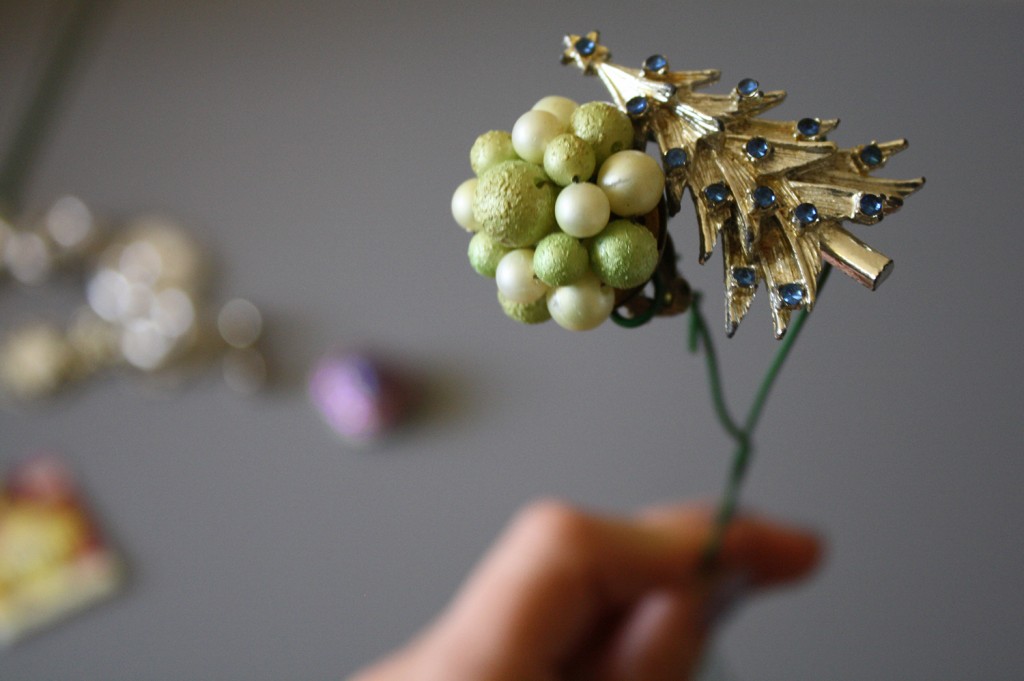
Bailey used 18 gauge floral wire and it was strong enough to hold up most of her pieces. She even bought it pre-cut in 18” lengths, reducing her use of wire cutters. Every once in a while an oddly shaped or extra heavy piece needed a little extra attention, all Bailey did was add two wires on either end to be sure the piece didn’t sag or fall.
Step #3: Arrange your pieces.
Start with the larger pieces and work your way out and around in a spiral to guarantee an even distribution. You can add your small filler pieces to hide gaps as you go. Wind the ‘stem’ of each piece around the handle of the bouquet as you go to avoid the shifting of placed pieces. Take your time. Some pieces may not fit together. Be patient as you decided the placement for each of your bejeweled flowers. As you add pieces to the sides be sure to work them out and down to create the dome shape of a bouquet.
Step #4: Adding Ribbon.
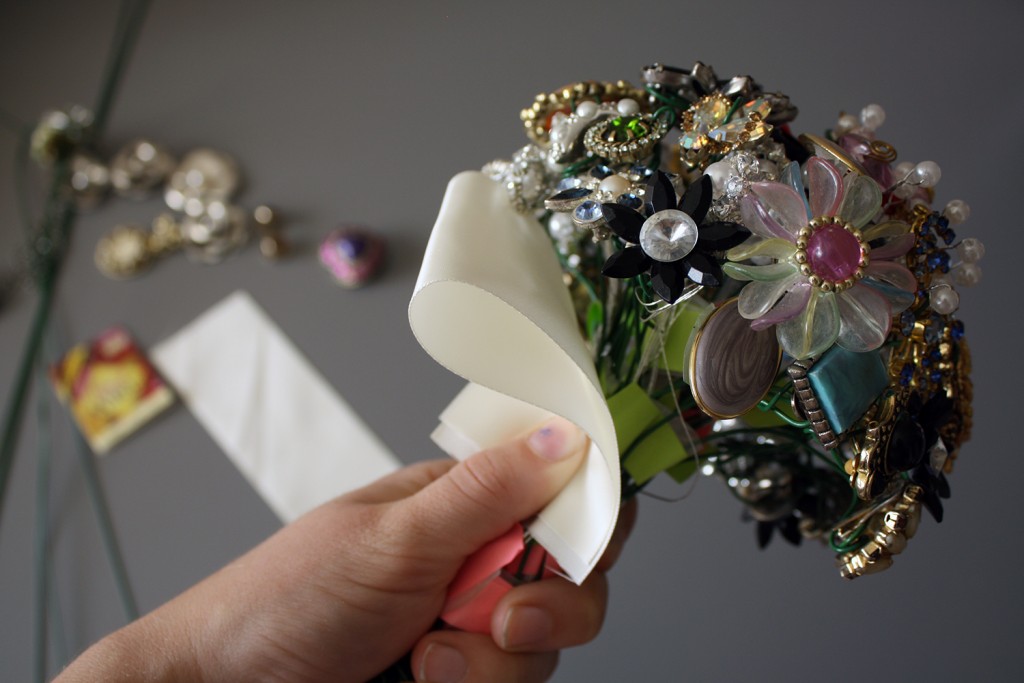
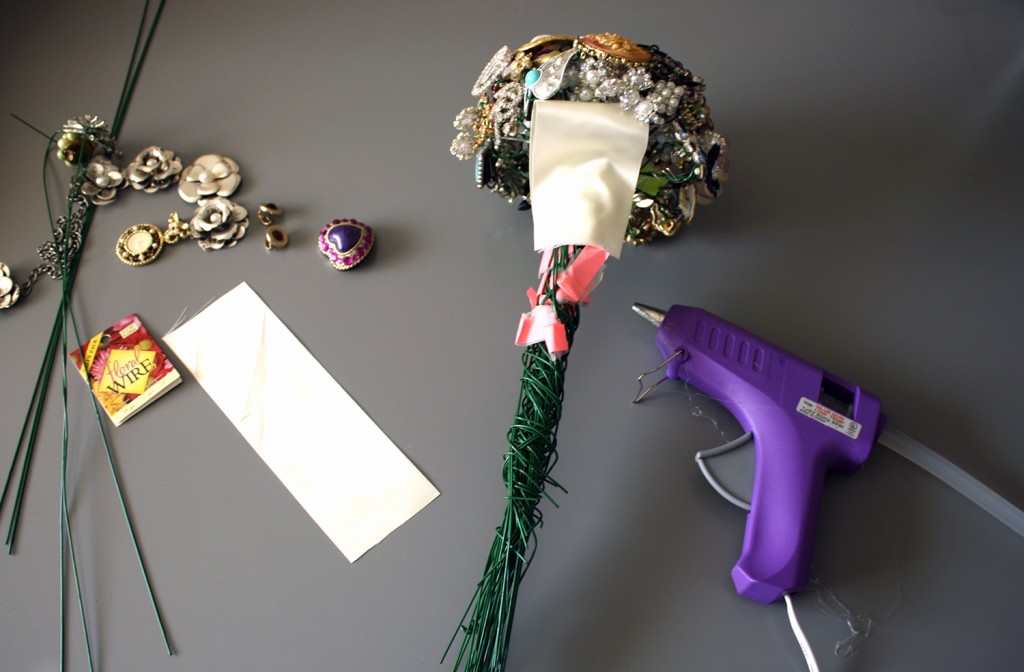
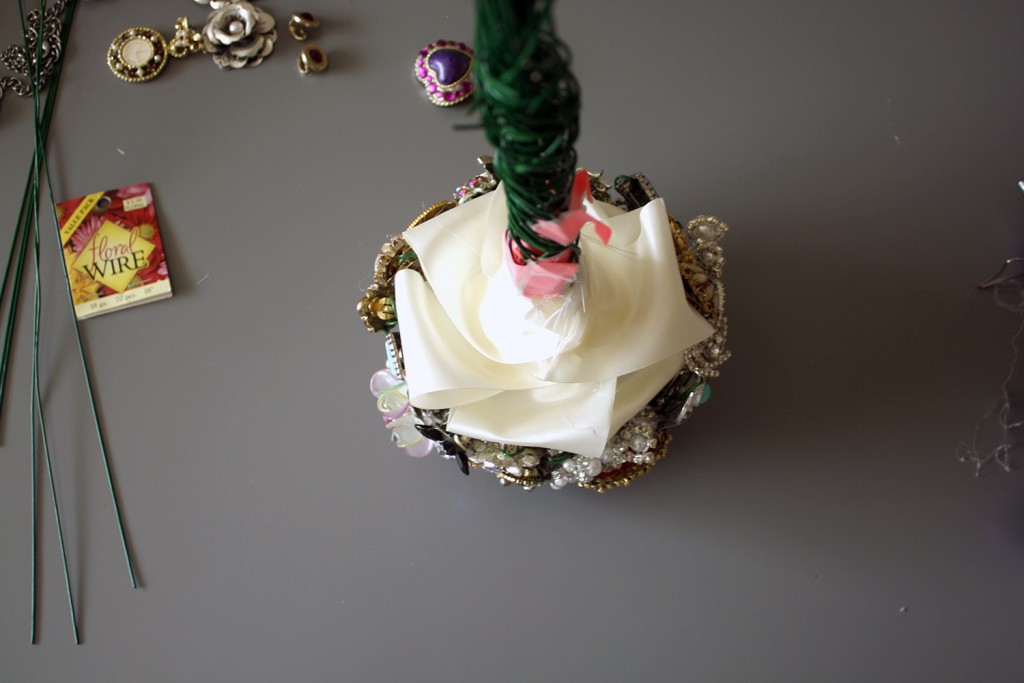
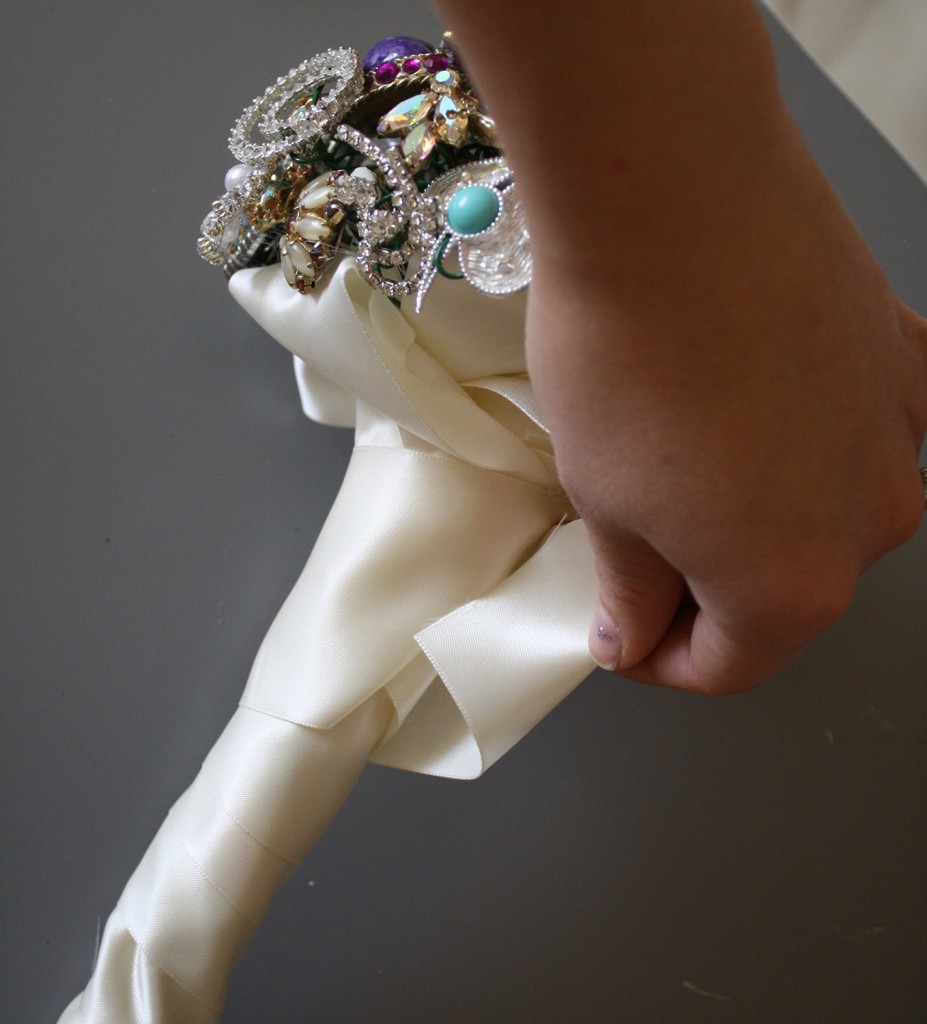
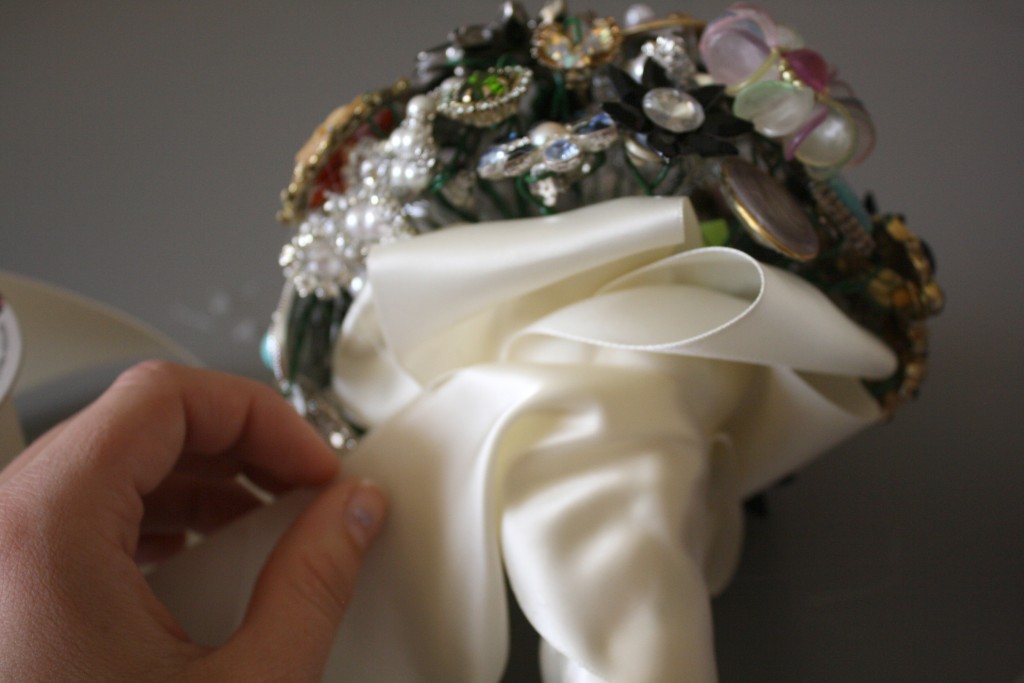
The grunt work is over. Now we add the icing to the cake. Complete the look of your brooch bouquet by hot gluing your ribbon to the bottom of your bouquet to cover the wires. Bailey cut six inch pieces of ribbon and folded them in half. She glued the pieces with the folded section outward to resemble petals beneath her brooches.
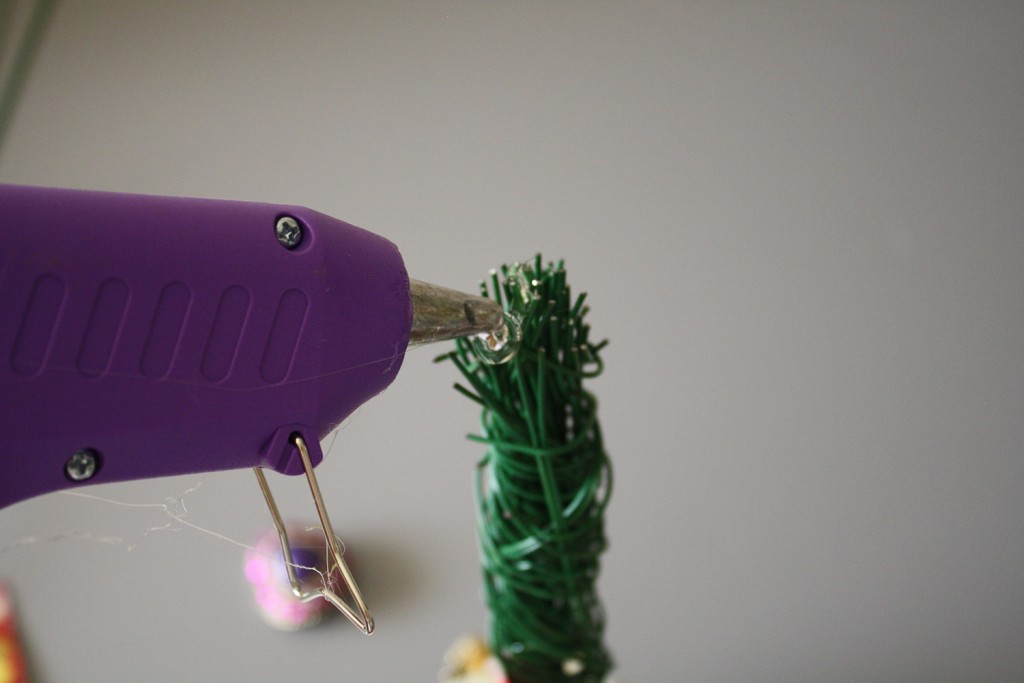
She took the wire cutters to the stem of her bouquet to even it out. Then she covered the ends of the wires with two small pieces of ribbon to prevent snagging and poking.
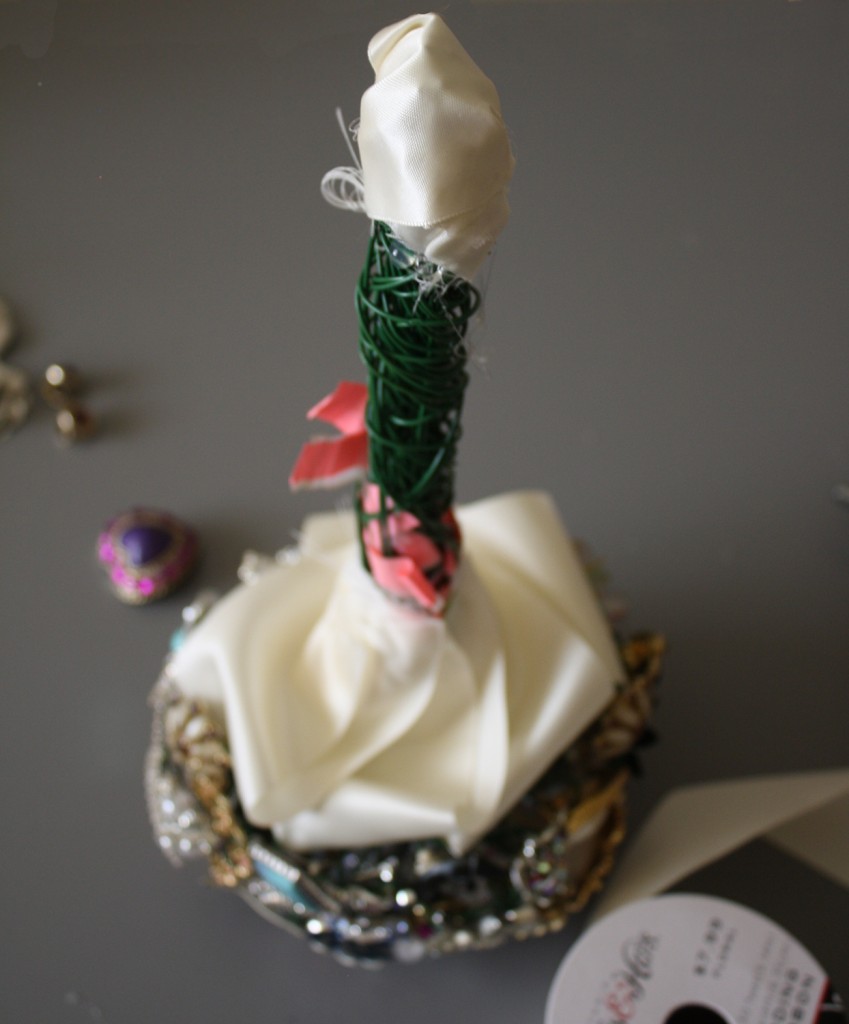
Finally, she wrapped the stem, hot gluing periodically and making sure to create an even pattern with the edges. To finish the handle Bailey glued a pleat in the ribbon to realign the ribbon parallel with the bouquet, wrapped the ribbon around one more time in a parallel pattern (as opposed to the diagonal pattern created as you move the ribbon up the handle). To finish she trimmed the ribbon and tucked the fraying edge under gluing the fold down to create a clean line.
Step #5: Step back and admire your work!
If you so choose, you could even add a ribbon bow to your bouquet for added dimension and fluff.








Leave a Reply